
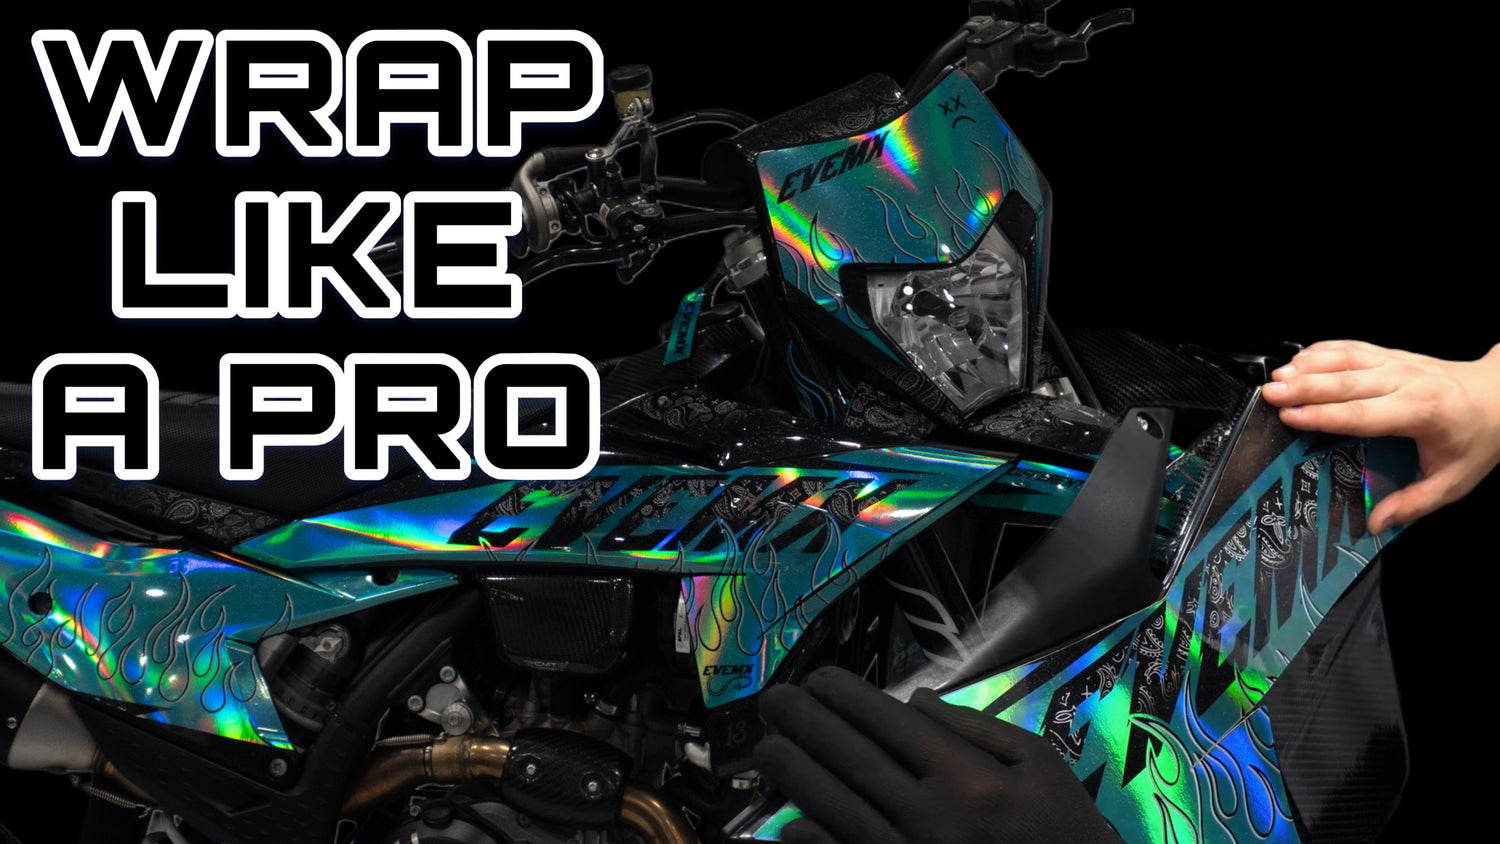
Before You Start – What You'll Need
Applying a graphics kit is a straightforward job when you're prepared. Before you begin, gather everything you'll need:
- A heat gun or hair dryer
- Isopropyl alcohol (IPA) or degreasing spray
- A clean microfibre cloth
- A soft squeegee or credit card wrapped in cloth
- A sharp craft knife (for trimming around holes and edges)
Make sure you're working in a warm environment — ideally between 15°C and 27°C. Cold vinyl is harder to apply and more prone to lifting at the edges.
Step 1 – Remove the Plastics
Before anything else, remove the plastic panels from your bike. Applying graphics on the bike is possible, but removing the plastics gives you a flat, stable surface that's far easier to work on and produces a much cleaner result.
Step 2 – Clean and Degrease
This is the most important step. Any grease, dirt, or residue on the plastic will prevent the adhesive from bonding properly — leading to lifting edges and bubbles over time.
Wipe down every panel with isopropyl alcohol and a clean cloth. Pay special attention to edges, corners, and any area that had previous graphics or tape. Allow the surface to dry fully before proceeding.
Step 3 – Dry Position Before Applying
Before peeling the backing paper, hold the graphic over the panel and confirm the alignment. Most Evemx Designs graphics are designed to align with the panel's edges, bolt holes, and contour lines. Check the position carefully — once the adhesive touches the surface, repositioning becomes much harder.
Step 4 – Peel and Apply
Start by peeling back a small section of the backing paper from one edge of the graphic. Begin pressing the vinyl down from that edge, working slowly across the panel. Keep one hand peeling the backing as the other smooths the vinyl flat with a squeegee, working out any air bubbles as you go.
Step 5 – Use Heat on Curves and Edges
For curved areas — such as around fender lips, shroud edges, and contoured sections — a heat gun or hair dryer is essential. Gently warm the vinyl until it becomes pliable, then carefully stretch and press it around the curve. The heated vinyl will conform to the shape without creasing.
Step 6 – Post-Heat the Entire Graphic
Once the graphic is fully applied, go over the entire panel with the heat gun one more time — especially over edges, curves, and any areas that were stretched during application. Post-heating activates the adhesive fully, locking the vinyl into place and dramatically extending the lifespan of the kit.
This step is commonly skipped — don't skip it.
Step 7 – Trim and Finish
Use a sharp craft knife to trim any excess vinyl around bolt holes, panel edges, and cutouts. Work slowly and follow the contour of the plastic. Once trimmed, press all edges down firmly with your squeegee to seal them.
Common Mistakes to Avoid
- Applying in cold conditions – Always warm the panels and workspace before starting.
- Skipping the degrease step – Even clean plastics can have invisible finger oils that cause lifting.
- Stretching too aggressively – Overstretching distorts the print and weakens the adhesive bond.
- Not post-heating – Without post-heat, edges are much more likely to lift on curved areas.
Your Kit Is Ready to Ride
Once everything is trimmed, heated, and pressed down, refit your plastics and you're done. With the right preparation and technique, your Evemx Designs graphics kit will look incredible and last for seasons.

Leave a comment
This site is protected by hCaptcha and the hCaptcha Privacy Policy and Terms of Service apply.